How to create a blog with HUGO
Posted on October 15, 2023 • 8 minutes • 1670 words • Other languages: <a href="https://amcloudsolutions.de/de/blog/hugo-website/" lang="de">Deutsch</a>
Table of contents
This article provides a walkthrough on how to create a personal website and blog using HUGO , a Go-based open source static site generator. In fact, the story is about the creation of this blog.
Introduction
Let’s face it, there are tons of frameworks out there for creating static websites. They are highly customisable, mostly easy to use, and there is a much larger community surrounding them. So why does the world need another framework and why should anyone use it? To be honest, I don’t have a good explanation. Once upon a time, my former colleague came into the office and said: “Hey, have you checked out this Go framework for static websites, HUGO, you can write all your content in Markdown, it’s amazing, I’m going to build my website with it” (checkout his website ).
And that’s about it. I don’t know WordPress, I’m a developer, I can build websites without fancy drag and drop UIs, and I love Markdown. That’s all you need to build a website with HUGO, and I have to say it’s been quite fun, so let’s get started.
Prerequesite
First, you’ll need to install HUGO and its dependencies, so follow the instructions on its website . You’ll also need to install git, npm and of course your favourite IDE.
Setting up the project.
The HUGO cli provides us with a function to create a base project. Navigate to the directory where you want to place your homepage and create it with:
hugo new site homepage
This sets up the basic structure of your HUGO project, the next step is to add a theme.
Themes
The HUGO community offers a large variety of themes that you can use for your homepage. Check them out here: Themes overview . For the basic style and layout of my homepage I’ve decided to use the blist-theme , I think it looks amazing and I’m very grateful to the development team that open sourced it. You are free to use the original repository, however I’ve decided that there are a few elements in the theme that I will need to customize for my own use, so I’ve created a fork on my public github .
We will integrate this theme as a git submodule. To do this, go to your project’s root directory and run
git init
I recommend adding the repository to your own git version control system, such as github, at this point. Next, we’ll add the submodule using
git submodule add https://github.com/AntoniusMa/blist-hugo-custom.git themes/blist
The submodule will be cloned into themes/blist. I will introduce the specifics of the submodule step by step as soon as we need them. For now, copy the package.json and package-lock.json files to your project’s root directory and run
npm i # install npm dependencies
npm i -g postcss-cli
The blist theme needs the postcss-cli during the HUGO build, so we will need to install it globally. Now copy the contents of themes/blist/exampleSite/config.toml to your projects hugo.toml and start your hugo development server:
hugo server
By default, this will serve your site on localhost:1313 . Verify that you can see the basic layout of the blist theme, the pictures and contents should be empty at the moment. Next up we will customize our title page.
Title page
The blist light theme is not very customizable, so for now we will disable it and add an option to use the dark theme by default. Open your hugo.toml and add or replace the following options in the [params] object.
[params]
  # Enable the darkmode toggle in header
  darkModeToggle = false
  defaultThemeDark = true
To use the dark theme option, we need to edit the themes/blist/layouts/_default/baseof.html file of the theme. In HUGO a baseof.html file is used to define and style the basic layout of the website, so in our case the header, footer, navigation and content areas. To overwrite the theme file, we could create our own baseof.html in layouts/_default/, but this is a theme customization, so we’ll add it directly to the submodule. In themes/blist/layouts/_default/baseof.html add {{ if .Site.Params.defaultThemeDark }}class="dark"{{ end }} to the html tag
<html {{ if .Site.Params.defaultThemeDark }}class="dark"{{ end }} lang="{{ .Lang }}" itemscope itemtype="http://schema.org/WebPage">
This is the first time we’ve had to use the HUGO templating function with {{ <expression> }} syntax. Here we’ve create a conditional and used the .Site object that HUGO automatically injects during the build. Save your changes and the HUGO server will use its hot-reload function to rebuild your page. It should now be in dark mode.
Language selection
As I don’t speak French, I’ve removed the language (just remove it from the hugo.toml), resulting in a problem that only appears when having exactly 2 languages to choose from. The currently unselected language is displayed in the header.
From a usability point of view, this is misleading, so we’re going to adjust the selection to show a drop-down list, as in the case with more than 2 languages. For the header, a so called partial is used. Partials are components that encapsulate individual parts of the layout, they can be reused in different places of an HUGO application. In /themes/blist/layouts/partials/header.html l23 make the following replacement:
    - {{ if ge (len .Site.Languages) 3 }}
    + {{ if ge (len .Site.Languages) 1 }}
    <li class="relative cursor-pointer">
      <span class="language-switcher flex items-center gap-2">
Also, all of the script tags are included in the footer partial, including the language selection logic. I’ve decidede to move the language selection function to its layout (the header file). Add
{{ if ge (len .Site.Languages) 1 }}
<script>
const languageMenuButton = document.querySelector('.language-switcher');
const languageDropdown = document.querySelector('.language-dropdown');
languageMenuButton.addEventListener('click', (evt) => {
    evt.preventDefault()
    if (languageDropdown.classList.contains('hidden')) {
    languageDropdown.classList.remove('hidden')
    languageDropdown.classList.add('flex')
    } else {
    languageDropdown.classList.add('hidden');
    languageDropdown.classList.remove('flex');
    }
})
</script>
{{ end }}
to the end of header.html before closing the </header> and remove this script from the footer. Lastly, there is a routing problem when changing the language. Every time you change the language, no matter what sub page you are on, you are redirected to the language’s home page lococalhost:1313/<languageCode>. I want the user to stay on the current page so they can switch languages while reading a blog article. Therefore we’ll need to adjust the language selector in the header with this code snippet
<div
class="language-dropdown absolute top-full mt-2 left-0 flex-col gap-2 bg-gray-100 dark:bg-gray-900 dark:text-white z-10 hidden">
{{ $currURL := urls.AbsURL .Permalink }}
{{ $langPrefix := urls.AbsLangURL "/" }}
{{ $trimmedURL := strings.TrimPrefix $langPrefix $currURL}}
{{ range .Site.Languages }}
<a class="px-3 py-2 hover:bg-gray-200 dark:hover:bg-gray-700" href="/{{ .Lang }}/{{ $trimmedURL }}" lang="{{ .Lang }}">{{ default .Lang .LanguageName }}</a>
{{ end }}
</div>
We’ll use the templating function to get the current URL, cut off the language prefix and replace it with the newly selected language. That’s it, the language selection is fixed and adapted.
Replace content
Now it’s time to bring our own content to the title page. For the title page in the blist theme, the content is defined in the configuration file (hugo.toml). Let’s make some adjustments first. By default [languages.<languageCode>.params] is used to overwrite the params according to the selected language. However, we don’t want to use different images for different languages, so move the introPhoto and logo parameters to the general [params] section and delete them for each language. Now upload the picture and the logo you want to use to the $projectRoot/static/ directory and adjust the paths for logo and introPhoto.
[params]
    introPhoto = "/profile-pic.jpg"
    logo = "/logo-color.svg"
# ...
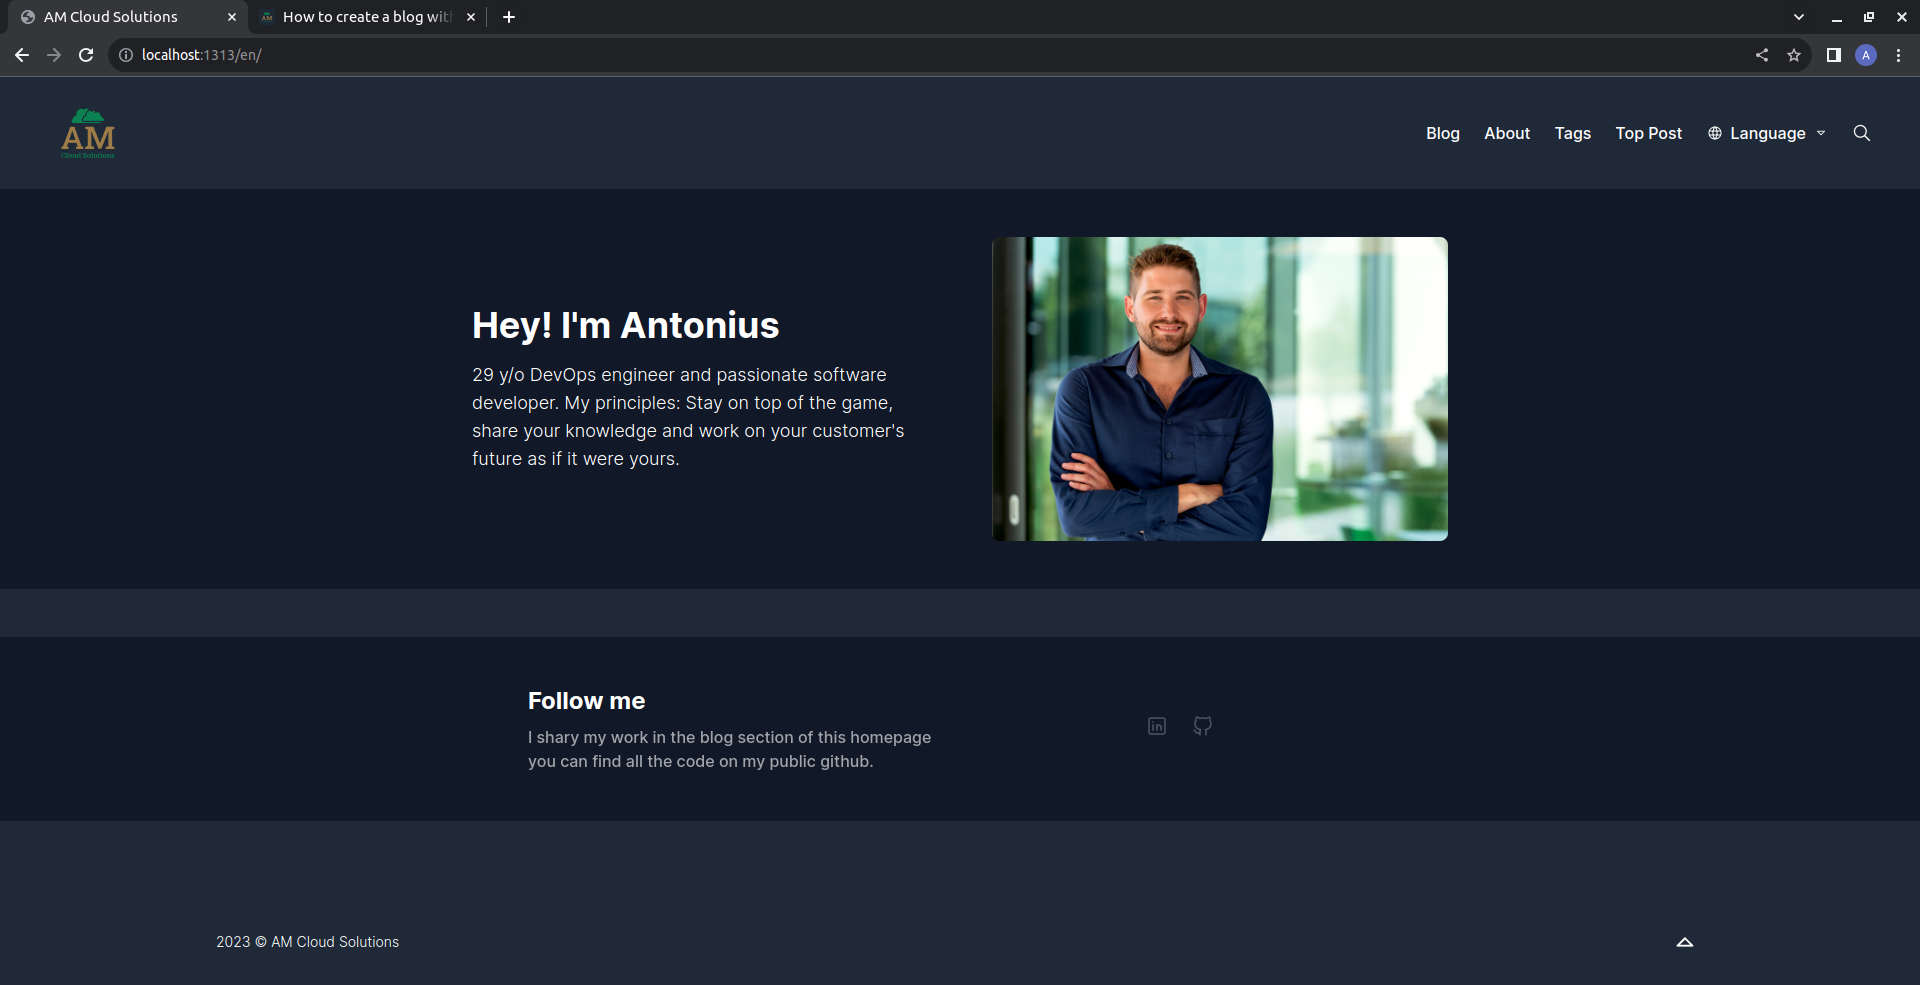
Next, adjust the introTitle and introSubtitle properties for each language. Also delete the copyright property. Update the social network panel by navigating to the [params.homepage.social] in your hugo.toml. Set the title and the description to your liking and delete any social networks that you don’t want to use. Finally set the homepage title at the top of the hugo.toml file. Your page should now look something like this:

For now, we’re done with the front page layout, you might want to consider resizing your logo in header.html. Now let us see how we can add a post to our blog.
Adding your first post
To add your first post, create directories content/de/blog and content/en/blog. Place a file called _index.md inside these directories and copy
---
author: Antonius Malsam
title: Blog
---
into it. This will be your blog’s overview page. It does not need any additional content, the theme will take care of everything else. Now create a file for your first post, like hugo-website.md in both directories. Here is an example of the content:
---
author: "Antonius Malsam"
title: "How to create a blog with HUGO"
description: "A walkthrough on how I created by blog with Go HUGO."
tags: ["hugo", "css", "html"]
date: 2023-10-15
thumbnail: https://gohugo.io/featured.png
---

This article provides a walkthrough on how to create a personal website and blog with [HUGO](https://gohugo.io/), a Go based open source static site generator. In fact, the story is about the creation of this blog.
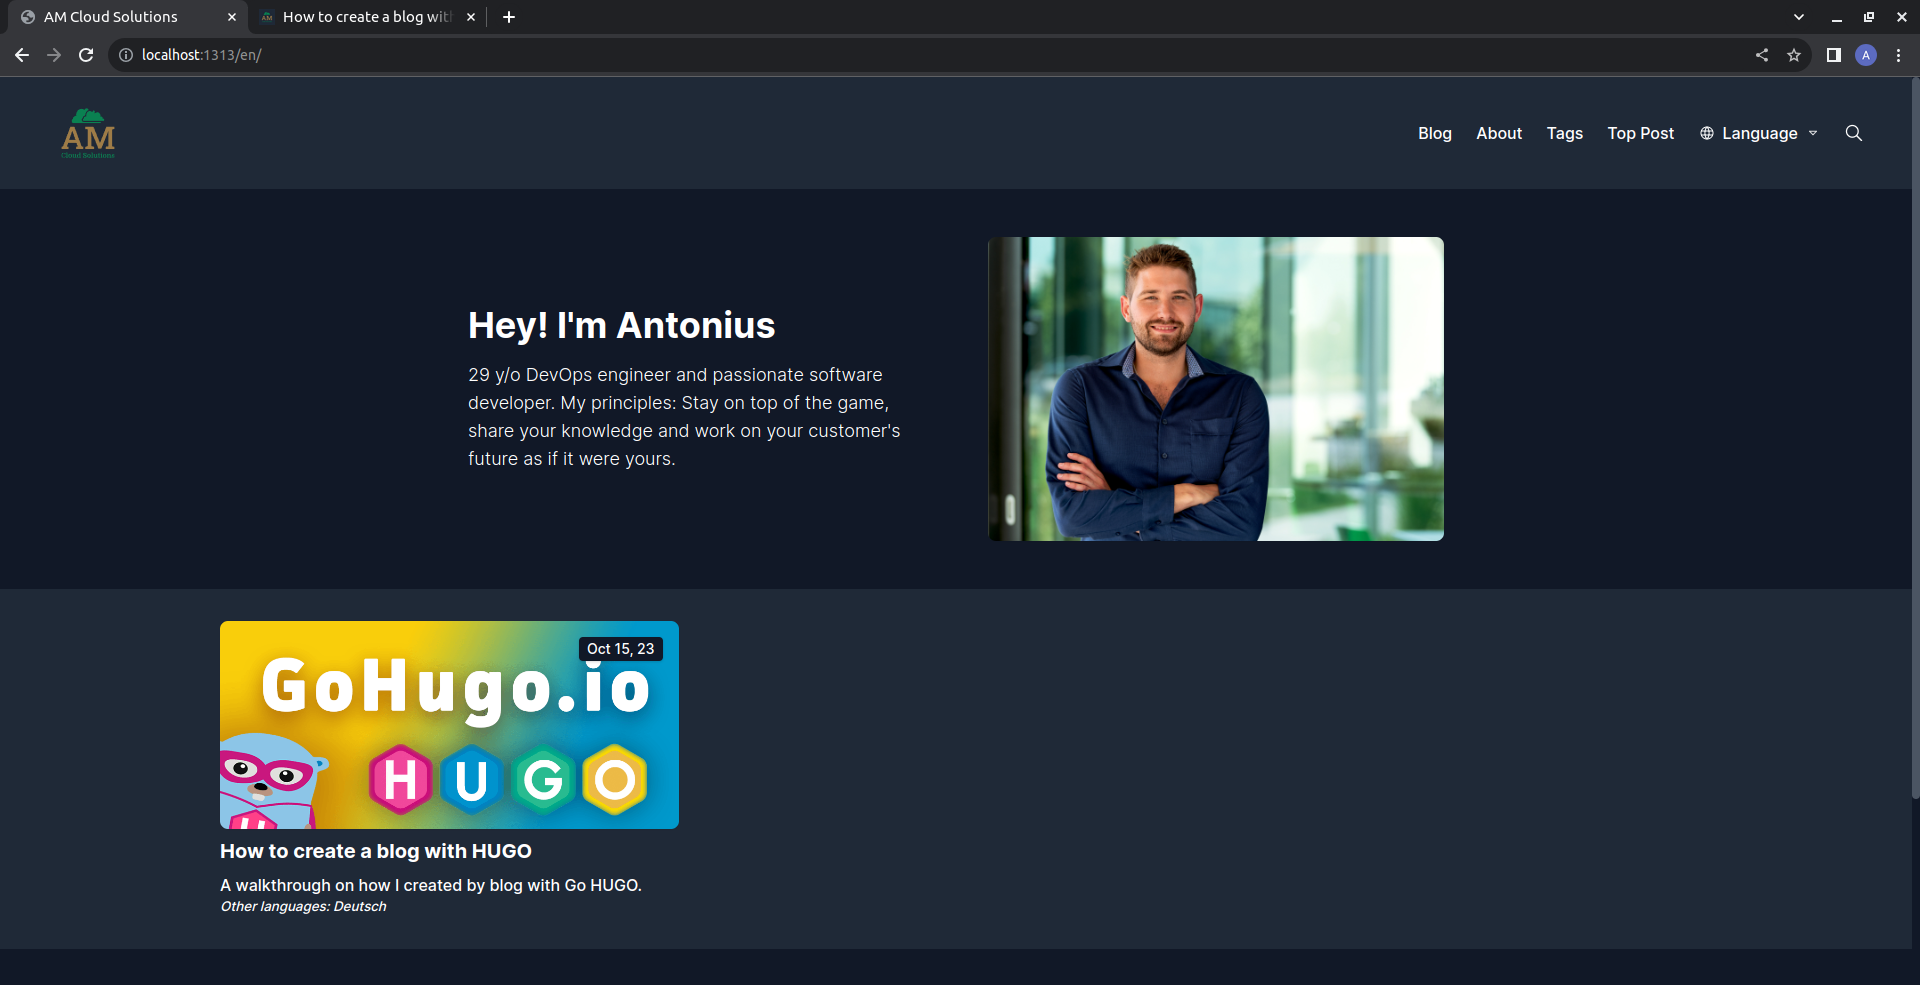
We define the metadata for the blog post and give it a thumbnail image. The tags are used to group your blog posts in the tags section of the homepage. Then we add a short summary for the post and save it.

There it is, after refreshing (clear your browser’s cache) our first blog post will appear on the title screen.
Conclusion
This concludes my first post about how I created this blog. I used HUGO because I wanted to try something new, something that suited my experience and skills, and allowed me to use Markdown to create content. And that is exactly what HUGO gives you. You can use all your web development experience, it is amazingly easy to start a project and choose one of the hundreds of themes available, everything is 100 % customisable through HTML, JS and CSS. As a developer, I found it incredibly easy to create my website using HUGO and I would recommend it to anyone with some knowledge of web development.
Checkout the posts of the series: HUGO Website Series
